How to Clean Handheld Vacuum Filter
A handheld vacuum filter is an important component of your cleaning equipment. It enables you to remove debris and dirt from hard-to-reach areas, like between the couch cushions, or underneath furniture. Without a properly working filter, your handheld vacuum will be unable to effectively lift dirt and dust particles from the surface being cleaned.
Therefore, in order for your machine to work at its best capacity, it’s imperative that you know how to clean the handheld vacuum filter regularly. Cleaning a handheld vacuum filter can seem daunting, but with a few simple steps it’s easy and straightforward. First off, make sure that you have all necessary items on hand before attempting this task: rubber gloves (for protection), soft cloths (for wiping down surfaces), small brush/toothbrush (for scrubbing).
Depending on what type of material the filter is made out of – such as plastic or paper – each step may vary slightly; however these general instructions should apply regardless!
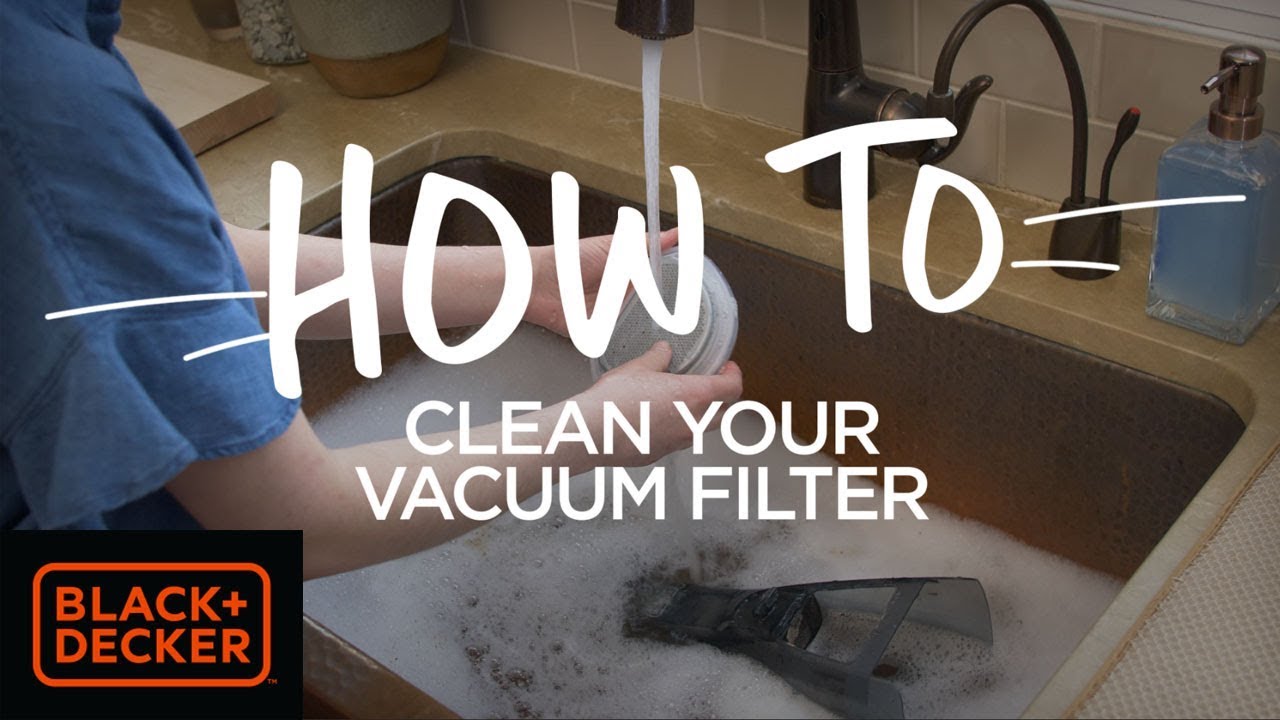
How To Clean A Vacuum Filter – BLACK+DECKER™
- Unplug the vacuum cleaner: Before beginning to clean the filter, make sure that the vacuum is unplugged from any power sources to avoid electric shock or injury
- Remove the filter: Depending on your model of handheld vacuum, you may need a screwdriver or other tool to remove the cover and access the filter
- The exact process varies by brand and model so consult your user manual for specific instructions if needed
- Tap out dirt particles: Once you have removed the filter from its compartment, gently tap it against a hard surface such as a table top or countertop to free up any dirt particles that are stuck in between fibers of fabric and bristles on the filter’s surface
- Rinse with water: Turn on your kitchen sink faucet and rinse off both sides of your removable filters under cold running water until all visible dirt has been removed from its surfaces
- Make sure not to use hot water as this could damage delicate materials used in some filters over time
- 5 Air dry overnight : Place wet filtered parts onto a flat drying rack or paper towel before allowing them air dry completely (this can take up 8-10 hours)
- Do not attempt blow drying filtered parts with hairdryers as this could cause further damage
How to Clean Dustbuster Filter
If you’re like many people, your Dustbuster is an essential part of your household cleaning arsenal. But if you don’t maintain it properly, it won’t work as well or last as long as it should. One important part of proper maintenance is regularly cleaning the filter.
Here are some easy steps to help you clean your Dustbuster filter:
1. Unplug the unit and remove the filter from its housing. Some models require that a release button be pressed before the filter can be removed; check your user manual for specifics on how to do this with yours.
2. Wash the filter in warm soapy water using a soft brush or cloth to gently scrub off any dirt or debris that has collected on its surface and in between its fibers. Rinse thoroughly with cool water until all soap residue has been removed and then let dry completely before replacing into the unit’s housing slot back again .
3. Depending on how often you use your Dustbuster, once every couple months may be necessary for optimal performance – either way, make sure to inspect the outside of the casing for dirt build-up and wipe away any grime with a damp cloth when needed .
4 For deep cleaning , place 1/4 cup white vinegar into 2 cups hot tap water in a bowl large enough for submerging entire filters – after soaking overnight , gently scrub both sides of each pleated section without damaging them . Again rinse well with fresh running cold water afterwards & allow drying fully before reinserting inside vacuum cleaner body .
5 If there’s still lint stuck onto filers even after washing & soaking , try wiping them down lightly with rubbing alcohol applied by cloth instead of rough brushing which could damage delicate mesh material permanently over time
6 Regularly wash out dustbin chamber too since accumulation will impact suction power ; unplug machine emptying trash compartment then rinse by running warm tap water through till no more particles come out from inner bottom walls
How to Clean Vacuum Cleaner Filter
Every vacuum cleaner has a filter that needs to be cleaned regularly. Cleaning your vacuum’s filter is important for maintaining optimal performance and keeping the air in your home free from dust, dirt, and allergens. If you want to make sure your vacuum operates at its best, then you need to learn how to clean it correctly.
Step 1: Check Your Vacuum’s Manual
The first thing you should do before cleaning your vacuum’s filter is consult your owner’s manual for instructions specific to the model of vacuum cleaner you have as different vacuums may require slightly different methods of cleaning their filters. Most manuals will provide detailed instructions on how often you should clean the filter and what type of products are safe for use with it.
Step 2: Remove The Filter
Once you know what type of product is safe to use on your particular model, take out the filter according to the manufacturer’s directions. In most models this can be done by pressing down on one side while pulling up on another until it pops out or unscrewing two screws located near where the hose connects with the motor housing unit.
Be careful when removing so as not to damage any other parts in case something breaks off during removal or installation later down the line!
Step 3: Clean The Filter With Soap And Water Or A Specialized Product
When washing a foam or pleated paper filter, gently scrub both sides using warm water mixed with dish soap (if applicable) or a specialized product designed specifically for vacuums such as those made by Hoover and Dyson brands—never use bleach-based cleaners which could damage plastic components within these units permanently if too much contact occurs!
For HEPA filters (High Efficiency Particulate Air), simply run them under lukewarm tap water until all visible dirt particles have been removed; afterward let them dry completely before reinstalling into place inside machine body cavity area(s).
Step 4: Let It Dry Completely Before Reinstalling
After cleaning either type of filter mentioned above—foam/pleated paper or HEPA—let them dry completely before putting back into place inside machine body cavity area(s).
How to Clean Black And Decker Lithium Hand Vacuum Filter
If you’ve recently purchased a Black and Decker Lithium Hand Vacuum, then you may be wondering how to clean the filter. Cleaning your vacuum’s filter is essential in order to maintain its performance and extend its life. With some simple steps, you can keep your Black and Decker Lithium Hand Vacuum running smoothly by cleaning the filter regularly.
First of all, unplug the vacuum before attempting any maintenance or cleaning tasks on it. Then, remove the dust cup from the vacuum by pressing down on two tabs located near the top of the dust cup handle to release it from its position. Now that it’s removed, hold it over a trash bin or other container and press down on either side of the lid to open it up; this will allow all debris inside to fall out into your designated container for disposal.
Once emptied out, take a soft brush (such as an old toothbrush) and use it to dislodge any dirt particles stuck onto or around your filter’s mesh screen. It’s important that you only use a soft-bristled brush for this task since hard bristles could damage both the mesh screen itself as well as other components within your vacuum cleaner such as hoses or tubes connected with them. After brushing off any debris present around or on top of your filter mesh screen, replace back onto its seat within your dust cup assembly; make sure that there are no gaps between where they meet so that air circulation isn’t compromised when using later!
The last step in cleaning filters involves washing them off with cold water while ensuring not too much pressure is applied during washing (which could cause further damage). If necessary though – warm water can also be used but never hot temperatures! Simply rinse until all visible dirt has been removed before allowing time for drying naturally under room temperature conditions away from direct sunlight exposure; once dry enough put everything back together again ready for next time vacuuming needs doing!
How to Clean Vacuum Filter Bag
Having a clean vacuum filter bag is essential to ensure that your vacuum cleaner works as efficiently and effectively as possible. If the bag becomes clogged with dust, dirt, and other debris, it can decrease suction power, cause problems in the motor, or even shut down completely. Fortunately, cleaning your vacuum filter bag doesn’t have to be complicated – here are some simple steps you can take:
1. Remove the Bag from Your Vacuum Cleaner: Before you begin cleaning your vacuum filter bag, make sure you turn off your machine and unplug it from any power source. Then carefully remove the old bag from its housing so you can access it for cleaning.
2. Empty Out Any Excess Debris: Once you’ve removed the old filter bag from its housing, take a few minutes to shake out any excess debris that may have accumulated inside of it over time.
This will help prevent clogs in future uses of the same bag or replacement bags down the line.
3. Rinse It Off With Water: Next up is rinsing off your vacuum filter bag with water – this will help dislodge stubborn bits of dirt and grime that may still be stuck on there after shaking out all loose debris earlier on in this process . To do this safely without damaging either yourself or your equipment , use cold water only – warm or hot temperatures could damage delicate components within both pieces of equipment .
4. Let It Air Dry Completely : After rinsing off your vacuum filterbag , let it air dry outside for at least an hour before putting back into place . Prolonged exposure to moisture can lead to mold growth , so making sure everything has dried is key ! Additionally , avoid using blow dryers or heat sources when drying as these too could potentially harm sensitive parts within both machines .
5 Finally , Reattach Your Filter Bag : When fully dried , simply reinsertyour newly cleanedfilterbagintoitshousingand reconnectanyhoseorpowercordsbeforeturningonyour vacuumpoweragain ! Nowyoucanenjoycleaningwithanoptimallyefficientvacuumcleaner again!
Cleaningyourvacuumfilterbagisamusttoensurethatitworksasintended-followthesefiveeasystepstomakeitquickand painlesseverytime!
How to Clean a Vacuum Filter Bissell
Vacuum filters can quickly become clogged with dust, dirt, and debris that accumulate over time. If this happens to your Bissell vacuum filter, it’s important to clean the filter regularly in order to maintain its performance. Here is a step-by-step guide on how to clean a vacuum filter Bissell:
1. Remove the Filter – Start by unplugging your vacuums power cord from the wall socket and remove any attachments you may have attached such as hoses or tools. Next, locate your Bissell vacuum’s filter cover located at the back of the unit and remove it by unscrewing it using a Phillips head screwdriver. Carefully take out the old filter and set aside for cleaning later.
2. Rinse Off Dust & Debris – Once you have removed the old filter from your Bissell Vacuum cleaner, use warm water and mild dish soap to rinse off any dust or other debris that has accumulated on the surface of the unit’s air intake area near where you just took out your old filter from earlier. Gently scrub away all visible dirt until no more residue remains before rinsing off with cold water again for good measure!
3. Clean The Filter – Place your now empty vacuum cleaner’s container/bin onto a flat surface so you can access its interior easily without having to worry about spilling anything inside while trying to reach down deep into those tight crevices where most dirt tends collect up around when left unchecked too long!
Using warm water mixed with some mild detergent solution (or even vinegar works great here!), gently begin washing away all remaining particles stuck within each individual pleats found on both sides of this particular model’s type of HEPA style replacement filters which usually come preinstalled already anyways but could always benefit greatly from occasionally being given regular maintenance like cleaning every few months depending upon usage frequency & surrounding environment conditions present nearby especially if one lives somewhere particularly dusty..
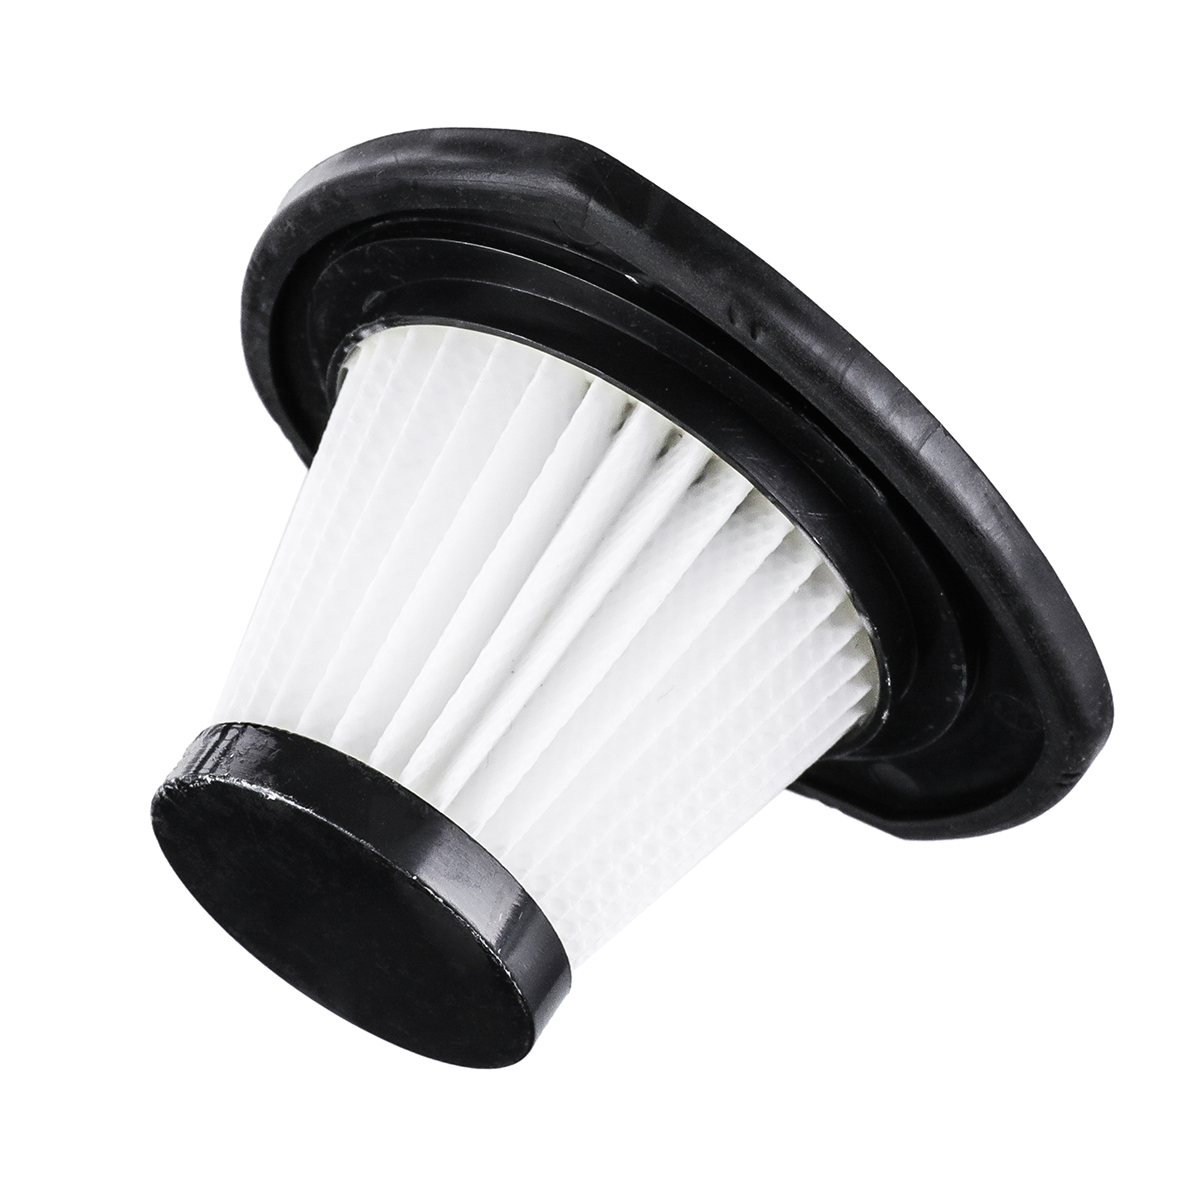
Credit: www.audew.com
Can Filter from Vacuum Be Washed?
When it comes to maintaining the cleanliness of your home, vacuuming is an important part of keeping your carpets and floors free from dirt and dust. But what about those filters that come with the vacuum? Can filter from vacuum be washed?
The answer depends on the type of filter you have installed in your vacuum. There are two main types of filters used in most modern vacuums: foam or pleated paper-type filters. Foam filters can usually be washed by running them under lukewarm water, but they should not be put into a washing machine as this could damage them.
Pleated paper-type filters may also be cleaned using lukewarm water, although some manufacturers recommend replacing them after a certain number of washes instead.
To determine whether or not your particular filter can handle being washed, check its owner’s manual for specific instructions—and always follow manufacturer guidelines when doing any kind of maintenance on a vacuum cleaner! Some vacuums also come with washable HEPA (High Efficiency Particulate Air) filters which can safely handle being rinsed off with warm water every few months to keep them functioning properly over time.
In addition to regular cleaning, it’s important to change out air and HEPA filters periodically as well; foam ones should typically be replaced every three months while pleated paper-type ones need changing out at least once per year based on usage frequency (sooner if you find yourself needing frequent deep cleans or have allergies). Regularly checking up on and replacing these parts will help ensure optimal performance from your machine and keep it operating efficiently for years to come!
How Do You Clean a Dirty Vacuum Filter?
If you’re a homeowner, then chances are you’ve got a vacuum cleaner in your home. Vacuum cleaners help to keep your house free of dust, dirt and debris. However, if the filter on your vacuum gets dirty over time it can become clogged with dirt and grime that will reduce its efficiency.
Fortunately, cleaning a dirty vacuum filter is an easy task that takes just minutes to complete.
The first step to cleaning a dirty vacuum filter is to remove it from the machine itself. Depending on what type of model you have this process may vary slightly but typically all you need to do is locate the release button or latch and push or pull it forward until the filter comes loose.
Once removed take it outside where there’s plenty of room for air circulation as well as good lighting so that you can properly inspect the entire surface area of the filter for potential damage or other issues such as rips or tears in fabric filters which should be replaced immediately instead of cleaned.
After inspecting the surface area use compressed air along with light brushing motions using an old toothbrush (or whatever soft-bristled brush works best) to gently loosen any caked on dirt particles from both sides of the filter material being careful not to apply too much pressure during this process so as not to damage delicate components inside like fan blades etc.. After loosening up all particles rinse off both sides under lukewarm water focusing especially around crevices where buildup tends accumulate most often then lay out flat on top newspaper sheets and let dry completely before reinstalling into place again once finished drying off fully without any remaining moisture left behind whatsoever otherwise mold growth could occur afterwards due strictly damp environments created by humid weather climates etc..
.
In summary, keeping your vacuum’s filters clean regularly helps maintain optimal performance levels at all times so don’t forget about them when performing regular maintenance checks! Taking just few moments away here & there go long way towards ensuring happy healthy homes everywhere!
How Do You Clean a Cordless Vacuum Filter?
Cordless vacuums are becoming increasingly popular as they offer a convenient way to clean the home without being tethered to a cord. But while they may be easy to use and store, they still require some maintenance from time to time, including regular filter cleaning. Cleaning your cordless vacuum filter is essential for keeping it running efficiently and ensuring that it continues to suck up all of that dirt and dust around your house.
So how do you go about cleaning your cordless vacuum filter? Here’s what you need to know:
1. Start by unplugging the power source from the wall or removing the battery if applicable, then take off any removable parts such as hoses or attachments.
This will give you access to the main body of the vacuum which houses the filter system.
2. Now locate where your filters are – typically in either behind a cover plate on top of the unit or inside at one end near where air exits out of it (check user manual if uncertain). Once located, remove them carefully – some may just pop out while others may require unscrewing first with a screwdriver before removal can take place safely without damage occurring.
Keep note of where each one has come from so when replacing them later everything goes back together correctly!
3a) If there is an obvious build-up on any part of your filters then these should be gently wiped down using a damp cloth and warm water until free from all debris/dirt particles etc; let dry naturally before replacing into its original position within unit .
3b) For more stubborn stains/build-up on certain materials like foam & felt ones found in many models – use only specifically formulated solutions designed for this purpose e.g., ‘filter cleaning solution’ available online/in stores alongside other accessories for cordless hoovers etc.
; follow instructions given on bottle carefully & ensure good ventilation throughout process too..!
4) Lastly once cleaned & dried appropriately ,reassemble everything back together again – check user manual beforehand if needed – plug power source back in / replace battery , switch back on & test it works ok before starting next job !
Following this simple guide should help maintain optimal performance levels with regards to suction power generated by your cordless vacuum cleaner whilst also helping extend its lifespan too – less hassle equals more convenience when it comes time for those dreaded household chores..
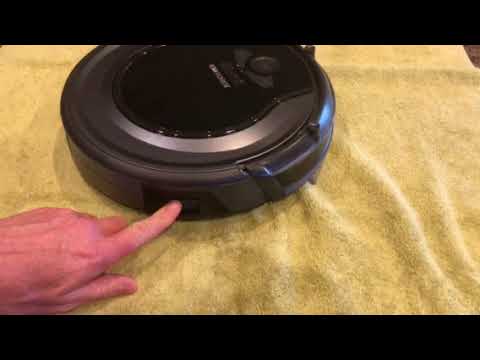
How Do You Clean the Filter on a Handheld Shark Vacuum?
Regular filter cleaning is an essential part of maintaining a handheld Shark vacuum. This helps to ensure that your vacuum runs efficiently and does not lose suction power. Fortunately, it is relatively easy to clean the filter on these vacuums, as long as you follow the instructions correctly.
To begin with, make sure that your Shark vacuum has been unplugged from its power source before attempting to clean the filter. Once disconnected from electricity, remove the dust cup and set aside while you focus on cleaning the filter. You will typically find two filters: one near where you inserted the dust cup and another at the back of the unit’s motor area; both should be cleaned regularly for optimal performance.
The first step in removing either type of filter is to locate their respective release buttons located near each filter; press down firmly until they click into place and then pull up gently on them to unlock them from their positions inside your Shark Vacuum cleaner. It may take some force or wiggling in order for them to come loose so don’t be afraid if this happens! Once released, slide out each individual component away from its housing unit by pulling it directly upward towards yourself – no tools are necessary here!
After doing so carefully inspect each piece for any signs of dirt or debris buildup which can impede upon efficient operation over time if left unchecked – use a soft brush or cloth if needed but avoid using anything metal like small screwdrivers etcetera during this process as it could possibly damage some internal components within your machine itself!
Once everything looks clear simply rinse off all parts (including both filters) with lukewarm water – never use hot water when cleaning any electronic device such as yours because it can cause irreparable damage – allow enough time between rinsing sessions (about 5-10 minutes)to let everything air dry naturally without having direct contact with any heat source before reassembling/reinstalling all pieces back together again onto their original positions securely inside your handheld shark vacuum cleaner once more! Make sure that all locking mechanisms are clicked into place once finished too – failure do do so could lead improper suction power or even worse short circuiting due problems occurring within its electrical systems further down line…
Conclusion
Hey there! Looking for some tips on how to clean your handheld vacuum filter? Well, then you’ve come to the right place.
Here’s a quick rundown of what you need to do:
First, remove the filter from your vacuum and check it for any debris or dirt that may be lodged in it. If so, use a soft brush or cloth to gently remove these particles before proceeding further.
Next, if the filter is washable, rinse it with warm water and allow it to air-dry completely before reinserting into the vacuum cleaner. For non-washable filters, simply use a damp cloth or compressed air canister (like those used for computer keyboards) to dislodge any dust particles that have adhered themselves onto its surface.
Finally, when all else fails – replace!
The best way to ensure optimal performance of your handheld vacuum is by replacing its filter every 3 months or so – just make sure that you get one compatible with your model first!
And there you have it – now go ahead and give those pesky dust bunnies no chance at taking over your living space again!