How To Fix Mop Bucket Wringer?
If your mop bucket wringer is not working properly, there are a few things you can do to fix it. First, check to see if the wringer is properly attached to the bucket. If it is not, follow the instructions in the bucket’s manual to properly attach it.
If the wringer is properly attached, but still not working, you may need to replace the wringer. To do this, first remove the old wringer by unscrewing it from the bucket. Then, screw in the new wringer by following the instructions in the bucket’s manual.
If you still have problems with your mop bucket wringer, please consult a professional.
REPAIR- Spin Mop Bucket Not Spinning – Easy Fix | HINDI
- Remove the wringer from the mop bucket
- Inspect the wringer for any damage or wear
- If the wringer is damaged, replace it with a new one
- If the wringer is not damaged, clean it with soap and water
- Dry the wringer completely before attaching it back to the mop bucket
Rubbermaid mop bucket/wringer
In today’s post, we’re going to take a close look at the Rubbermaid Mop Bucket/Wringer. This product is a must-have for anyone who wants to keep their floors clean and free of dirt, dust, and debris. Let’s take a closer look at what this product has to offer.
The Rubbermaid Mop Bucket/Wringer is made of durable plastic that can withstand years of use. It has a capacity of 9 gallons, so it can hold plenty of water for mopping. The bucket has a wringer attached to the side, which makes it easy to wring out your mop without getting your hands wet.
There are also two handles on the bucket, so you can easily carry it from one room to another.
This product is easy to assemble and use. Simply fill the bucket with water, add your favorite cleaning solution, and mop away.
When you’re finished, use the wringer to squeeze out the excess water from your mop. The Rubbermaid Mop Bucket/Wringer makes it easy to keep your floors clean and free of dirt, dust, and debris.
Credit: wiki.ece.cmu.edu
How do you fix a Rubbermaid mop bucket wringer?
If your Rubbermaid mop bucket wringer is not functioning properly, there are a few things you can do to try to fix it. First, check to make sure that the bucket and wringer are both properly assembled. If they are not, follow the instructions in the Rubbermaid mop bucket assembly video.
Next, check to see if the wringer is dirty or clogged. If it is, clean it with soapy water and a brush. Finally, if the wringer still will not work, you may need to replace the wringer assembly.
How do you assemble a mop wringer?
Assuming you are talking about a standard cylindrical mop wringer, the process is actually quite simple. The first thing you need to do is find a large enough bucket to accommodate the wringer. You will also need to make sure that the bucket has a smooth, level surface on which to place the wringer.
Once you have found a suitable bucket, the next step is to place the wringer inside it. Make sure that the wringer is centered in the bucket and that the handle is facing up. Once the wringer is in place, you can start attaching the mop.
To do this, simply insert the mop head into the wringer and push down until you hear a click. This indicates that the mop head is securely in place. Once the mop is attached, you can start using it to clean your floors.
To empty the mop, simply lift up on the handle to release the mop head. The dirty water will then be released into the bucket. You can then wring out the mop head and repeat the process as needed.
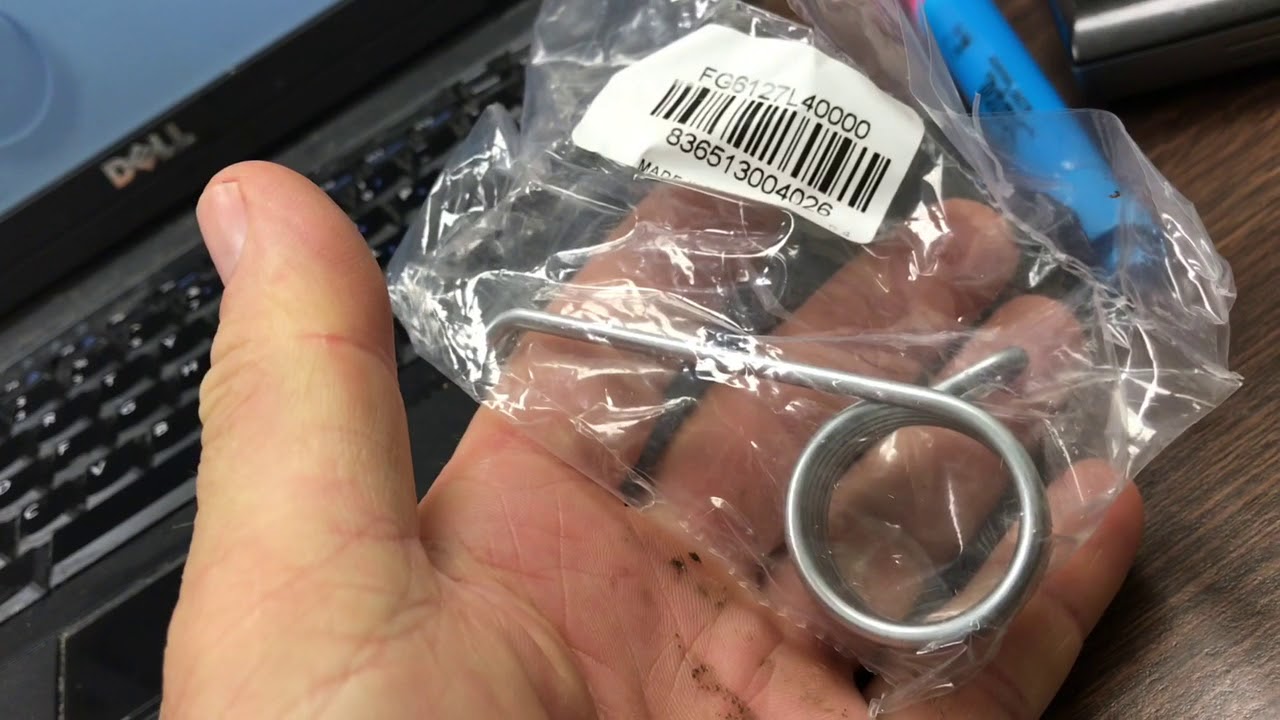
How do you put the spring on a Rubbermaid mop bucket?
Assuming you are talking about the Rubbermaid WaveBrake Mop Bucket (based on image search), it is a pretty simple process. The spring is actually part of the wringer assembly, so you will need to first attach the wringer to the bucket. There are two ways to do this, depending on which model bucket you have.
If you have the 35 Qt WaveBrake Mop Bucket, there are two red hooks on the inside of the bucket. The wringer has two corresponding red loops that you simply hook onto the hooks.
If you have the 44 Qt WaveBrake Mop Bucket, there is a metal bracket inside the bucket.
The wringer has a plastic tab that slides into the bracket, and then you simply push down on the wringer to snap it into place.
Once the wringer is attached, the spring will be in place.
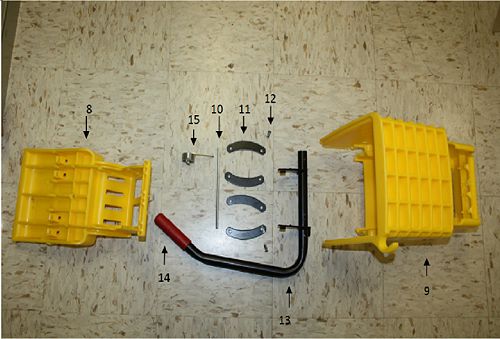
How do you disassemble a mop bucket?
If you need to disassemble your mop bucket, there are a few simple steps you can follow. First, remove the dirty water from the bucket. Next, unscrew the lid and handle from the bucket.
Then, remove the wringer assembly by unscrewing the bolts that hold it in place. Finally, unscrew the caster wheels from the bottom of the bucket. With these simple steps, you can easily disassemble your mop bucket for cleaning or storage.
Conclusion
If your mop bucket wringer isn’t working properly, there are a few things you can do to fix it. First, check to see if the wringer is properly attached to the bucket. If it is, then check to see if the bucket is properly seated on the floor.
If it isn’t, then you may need to adjust the legs of the bucket. Finally, check to see if the handle of the wringer is properly attached to the bucket. If it isn’t, then you’ll need to replace the handle.