How to Clean Shark Handheld Vacuum?
Cleaning your Shark handheld vacuum is an important part of proper maintenance. Sharks are one of the most popular and efficient brands of handheld vacuums, and it’s essential to keep them clean so they last longer and continue to suck up dirt, dust, pet hair, and other debris with ease. This task doesn’t have to be daunting- in fact it’s quite simple.
By following these steps you can easily clean your Shark Handheld Vacuum in no time at all. Firstly, you’ll need to know what type of filter is on your model (e.g., foam or HEPA). The type of filter will determine which cleaning methods work best for your specific model as some require more frequent cleaning than others.
Additionally, if you don’t have a replacement filter handy then this step isn’t necessary but recommended if possible. Secondly, start by unplugging the vacuum from its power source before beginning any cleaning tasks; this is a safety precaution that should not be overlooked! Next empty out the dust cup or bin – depending on your model – into a trash bag or container outside away from indoor air circulation vents.
- Empty the Dust Cup: Remove the dust cup from the handheld vacuum, and empty it into a trash can or bag
- Make sure to remove any debris that may be stuck in the filter mesh
- Clean the Filter Mesh: Using a soft brush and running water, carefully clean away any dirt or dust particles that are stuck to the filter mesh of your handheld vacuum’s dust cup
- Allow for proper drying time before replacing it back onto your device
- Wipe Down Exterior Components: Use a damp cloth with mild detergent or rubbing alcohol to wipe down all exterior components of your shark handheld vacuum including handle, power switch, cord wrap, crevice tool and other attachments as needed
- Be sure not to use too much liquid when wiping these areas down as this could damage electronic components within your device if they were exposed to moisture directly on their surface area
- 4 Disinfectant Spray & Vacuum : After cleaning all external component parts of your Shark Handheld Vacuum , spray disinfectant into hard-to-reach places such as filters and crevices using an aerosol canister
- Once sprayed allow for 10 minutes before vacuuming up leftover residue from surfaces with your device
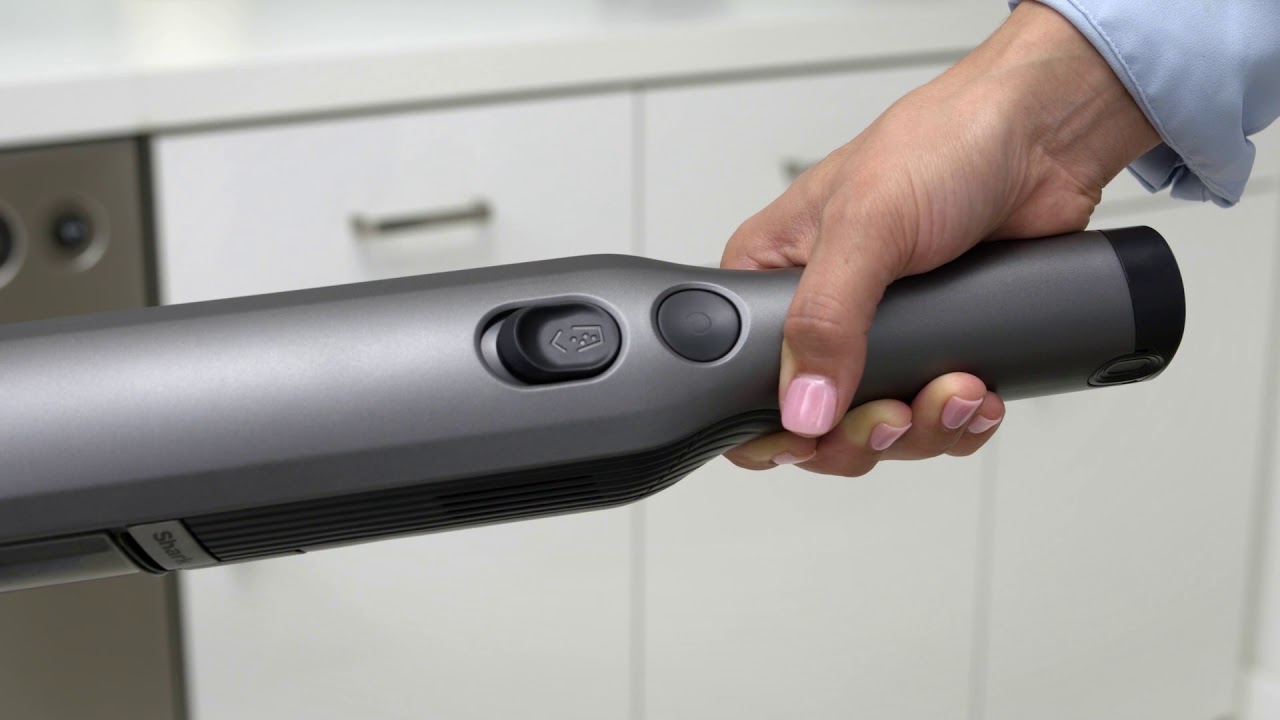
How to maintain the Shark ION™ W1 Cordless Handheld Vacuum
Can You Wash the Shark Handheld?
When it comes to cleaning your Shark handheld vacuum cleaner, you want to make sure that you’re doing it correctly and safely. The good news is that yes, you can wash the Shark hand held! Here are a few tips on how to do so:
1. Start by unplugging the power cord from the wall outlet and then remove any attachments or accessories from your Shark handheld vacuum. If possible, separate out the dustbin for easier access to clean all parts of your device.
2. Next, use a damp cloth or sponge with warm water and mild detergent to wipe down all surfaces of your handheld unit – including both inside and outside areas such as crevices and corners where dirt may have accumulated over time.
Pay extra attention when cleaning around buttons as they may be sensitive if exposed too much moisture.
3. Rinse away any remaining residue using a wet towel or damp cloth with clean water only – no soap this time! Make sure not leave behind any excess liquid which could damage internal components of your unit when drying out afterwards.
4. Finally, let everything air dry completely before re-assembling all parts back together again; plug in the power cord into its designated outlet once portion has been fully dried up for safety measures against electrocution risks during usage later on . Overall, keeping our Shark hand held vacuums clean should not be overlooked as regular maintenance can help extend their lifespan significantly – especially since these devices come with multiple moving parts which need proper care every now and then for optimal performance purposes at home.
.
How Do You Clean a Shark Wand?
Shark wands are a great tool for cleaning hard-to-reach areas of your home. Unfortunately, they can become caked with dust and dirt over time if not properly maintained. Fortunately, it is easy to clean your Shark wand in just a few simple steps.
The first step is to remove any debris that may be attached to the head or bristles of the wand. This can be done by either using an old toothbrush or a damp cloth. Once all debris has been removed from the surface, you should use compressed air (or an air compressor) to blow away any remaining particles from deep within the brush head and bristles.
Next, fill a bucket or sink with warm water and add some dish soap into it. Submerge the head of your Shark wand into this solution for about 15 minutes so that it has enough time to thoroughly soak up any dirt and grime that might be stuck on its surface. After soaking, take out the wand and use an old toothbrush (or another soft-bristled brush) to scrub away at stubborn spots as needed before rinsing off in running tap water until all soap residue has been completely removed.
Finally, let your Shark wand dry completely before storing it away again – preferably somewhere where there won’t be too much direct sunlight exposure like inside a cupboard or drawer so that its material doesn’t degrade faster than normal due heat damage over time! With these simple steps you will have successfully cleaned your Shark Wand without causing any damage! Remember: regular maintenance is key when trying keeping things such as these looking brand new – so make sure you clean yours regularly for optimal performance results every single time.
How Do I Clean My Shark Cordless Vacuum?
If you’re looking to keep your Shark cordless vacuum in tip-top condition, then regular cleaning is key. Here are some simple steps for keeping your Shark clean and performing at its best:
1. Empty the dust cup: Before beginning any cleaning process on a cordless vacuum, it’s important to empty the dust cup first.
This will prevent any dirt from being spread around while you clean. To do this, simply press down on the release button and remove the entire dust cup from the unit. Once removed, dump out all of the debris and rinse with warm water if needed before replacing it back into its original position.
2. Cleaning filters: It’s also important to regularly inspect and replace or wash any filters that come with your Shark vacuum cleaner as they become clogged over time due to accumulated dirt particles and other airborne materials that may be present in your home environment. To begin this process, unplug your unit from power source before accessing filter compartments located near motor areas of device – typically marked by an arrow symbol pointing toward filter area – which should then be carefully unscrewed until cover can be removed exposing filter(s). Depending on type of model you own, there may one or more filters present (i.e., HEPA-style), so refer to user manual for specific instructions related to those particular components; however generally speaking these should either be wiped off using cloth dampened slightly in mild detergent solution or replaced entirely depending upon severity of buildup seen after inspection (consult owner’s guidebook).
How Do You Clean the Inside of a Shark Vacuum?
If you have a Shark vacuum, chances are it’s been with you for many years and has become your trusted cleaning companion. But just like any other appliance or tool, it needs to be taken care of in order to keep it running smoothly and effectively. One important part of this maintenance is regular cleaning of the inside components of the vacuum.
Here we’ll discuss how to properly clean the interior of your Shark vacuum so that you can continue getting superior results from your beloved machine. Before beginning any kind of deep-cleaning procedure on a Shark vacuum, make sure to unplug the power cord from its power source as well as remove all dust and debris bags/filters before starting. This will help prevent improper functioning due to overloads caused by dirt buildup within the motor or other internal parts.
Once these steps are taken, begin by wiping down the exterior surfaces with a damp cloth in order to remove any visible dirt or dust particles that have accumulated over time. Next, use compressed air (often available at hardware stores) to blow out any remaining debris lodged in hard-to-reach areas such as crevices along seams between plastic components or cracks between rotating parts like wheels and rollers. You can also use an old toothbrush dipped into warm soapy water for more detailed scrubbing tasks if needed – just make sure all soap residue is removed afterwards using fresh water prior to drying off completely with a soft cloth or paper towel.
Finally, inspect all hoses connecting various components together for clogs and blockages; this may require removing them entirely before flushing out stubborn pieces stuck inside using either hot water (for rubber hoses) or compressed air (for plastic ones). Be sure not to force anything through as doing so could damage sensitive parts permanently! Make note that some models come equipped with washable filters which should be cleaned regularly according their manufacturer’s instructions (usually every three months depending on usage).
If yours does not have one installed already then consider investing in one since they provide an extra layer protection against allergens being recirculated back into your home environment via exhaust vents located near floor level when vacuuming takes place upstairs etcetera… In conclusion, proper care and maintenance is key when it comes keeping up reliable performance levels from shark vacuums; following these simple steps should ensure maximum effectiveness while prolonging their lifespan significantly over time.
Credit: www.lowes.com
How to Clean Shark Wandvac
If you’re the proud owner of a Shark Wandvac, then you know how handy it can be for tackling all sorts of cleaning jobs around your home. But did you know that regular maintenance and cleaning is essential to keep your vacuum working at its best? In this blog post, we’ll provide some top tips on how to clean and maintain your Shark Wandvac so that it gives you excellent results time after time.
Before You Start: Disconnect the Power Cord To avoid any potential electric shocks or accidents while cleaning the vacuum, make sure to always unplug it from the power supply before starting any kind of maintenance work. Empty Out The Dust Bin
The dust bin should be emptied out whenever possible as otherwise dirt and debris will accumulate inside which could lead to blockages in the filter or other components. To empty out your dustbin simply remove it from the body of the vacuum cleaner by pressing down on either side release buttons located near where handle meets body before lifting off gently – shake out contents into a trash bag or receptacle outside away from open flames or sparks! Clean Your Filters
Regularly check both filters (pre-motor/post-motor) for signs of wear and tear – if they look dirty replace them immediately as a clogged filter can reduce suction power significantly over time! Use only genuine Shark parts when replacing these items; never use third party replacements as they may not fit correctly or worse still cause damage due to poor construction quality. When removing the filters, take care not to touch them with wet hands as this could lead corrosion problems down line too – use gloves instead if necessary!
Once removed give each one thorough wash using warm water mixed with detergent (no fabric softener!) before allowing them ample drying time overnight – alternatively speed up process by rinsing under gentle running tap until completely free from soap residue & leaving somewhere cool but dry until fully dried out naturally (do NOT force dry). Check For Blockages It’s important to regularly inspect all areas where air passes through your vacuum cleaner such as nozzles, hose connections etc., for signs of blockage caused by pet hair/other debris – clear these away carefully using tweezers/toothpick etc., being careful not store scratch plastic surfaces whilst doing so.
Conclusion
Cleaning your Shark Handheld Vacuum doesn’t have to be hard! All you need is a few cleaning tools and supplies. First, remove the dust cup from the vacuum and empty it into a garbage can or bag.
Next, use an old toothbrush to clean off any dirt that’s stuck in the filter screen on the bottom of the dust cup. Then, rinse off both parts of the dust cup in warm water with mild soap until they are completely free from debris. Finally, allow them to dry before reassembling your vacuum and putting it away for storage.
With these easy steps, you’ll have your Shark Handheld Vacuum shining like new again in no time.