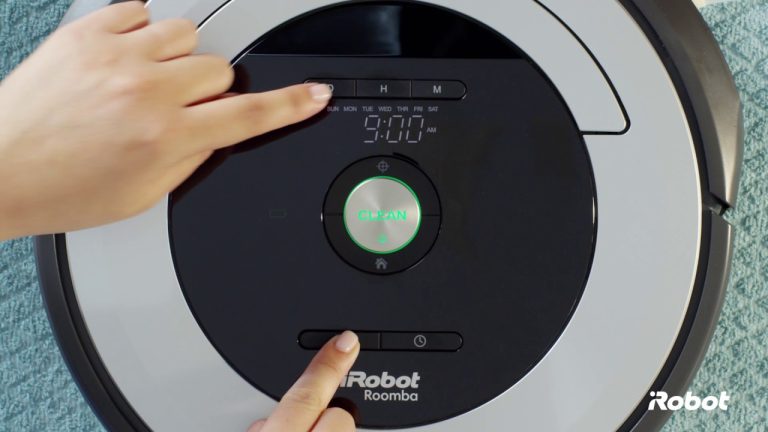
How to Reset Goovi Robot Vacuum?
If your Goovi Robot Vacuum isn’t working the way it should, you can try resetting it. This may help clear any errors and restore the vacuum to its original factory settings. To reset your Goovi Robot Vacuum, follow these steps:
1. Unplug the vacuum from the power outlet and wait for 30 seconds.
2. Press and hold the “Reset” button (located on the bottom of the vacuum) for 3 seconds.
3. Plug the vacuum back into the power outlet and press the “Power” button to turn it on.
4. The reset is now complete.
- Unplug the vacuum from the power outlet
- Press and hold the “reset” button on the vacuum for 3 seconds
- Plug the vacuum back into the power outlet
- Press and hold the “start” button on the vacuum for 3 seconds

Credit: www.amazon.com
Why is My Robot Vacuum Not Turning On?
If your robot vacuum is not turning on, there are a few things you can check. First, make sure that the vacuum is plugged into an outlet and that the power switch is in the ON position. If the vacuum still does not turn on, try resetting it by unplugging the vacuum from the outlet and then plugging it back in.
You may also need to replace the batteries in the remote control. If none of these solutions work, contact the manufacturer for further troubleshooting assistance.
How Do I Fix My Robotic Vacuum?
If your robotic vacuum cleaner isn’t working as it should, there are a few things you can do to try and fix the problem. First, check the power cord and make sure it is plugged into an outlet. Next, check the dustbin and ensure that it is empty.
If the dustbin is full, the vacuum will not work properly. Finally, check the brushes and make sure they are free of dirt and debris. If the brushes are clogged, they will need to be cleaned before the vacuum will work properly.
Does Goovi Have an App?
Yes, Goovi has an app! The app is available on both iOS and Android devices, and it’s a great way to keep track of your savings. With the app, you can easily see all the deals in your area, find coupons for your favorite stores, and even save money on gas.
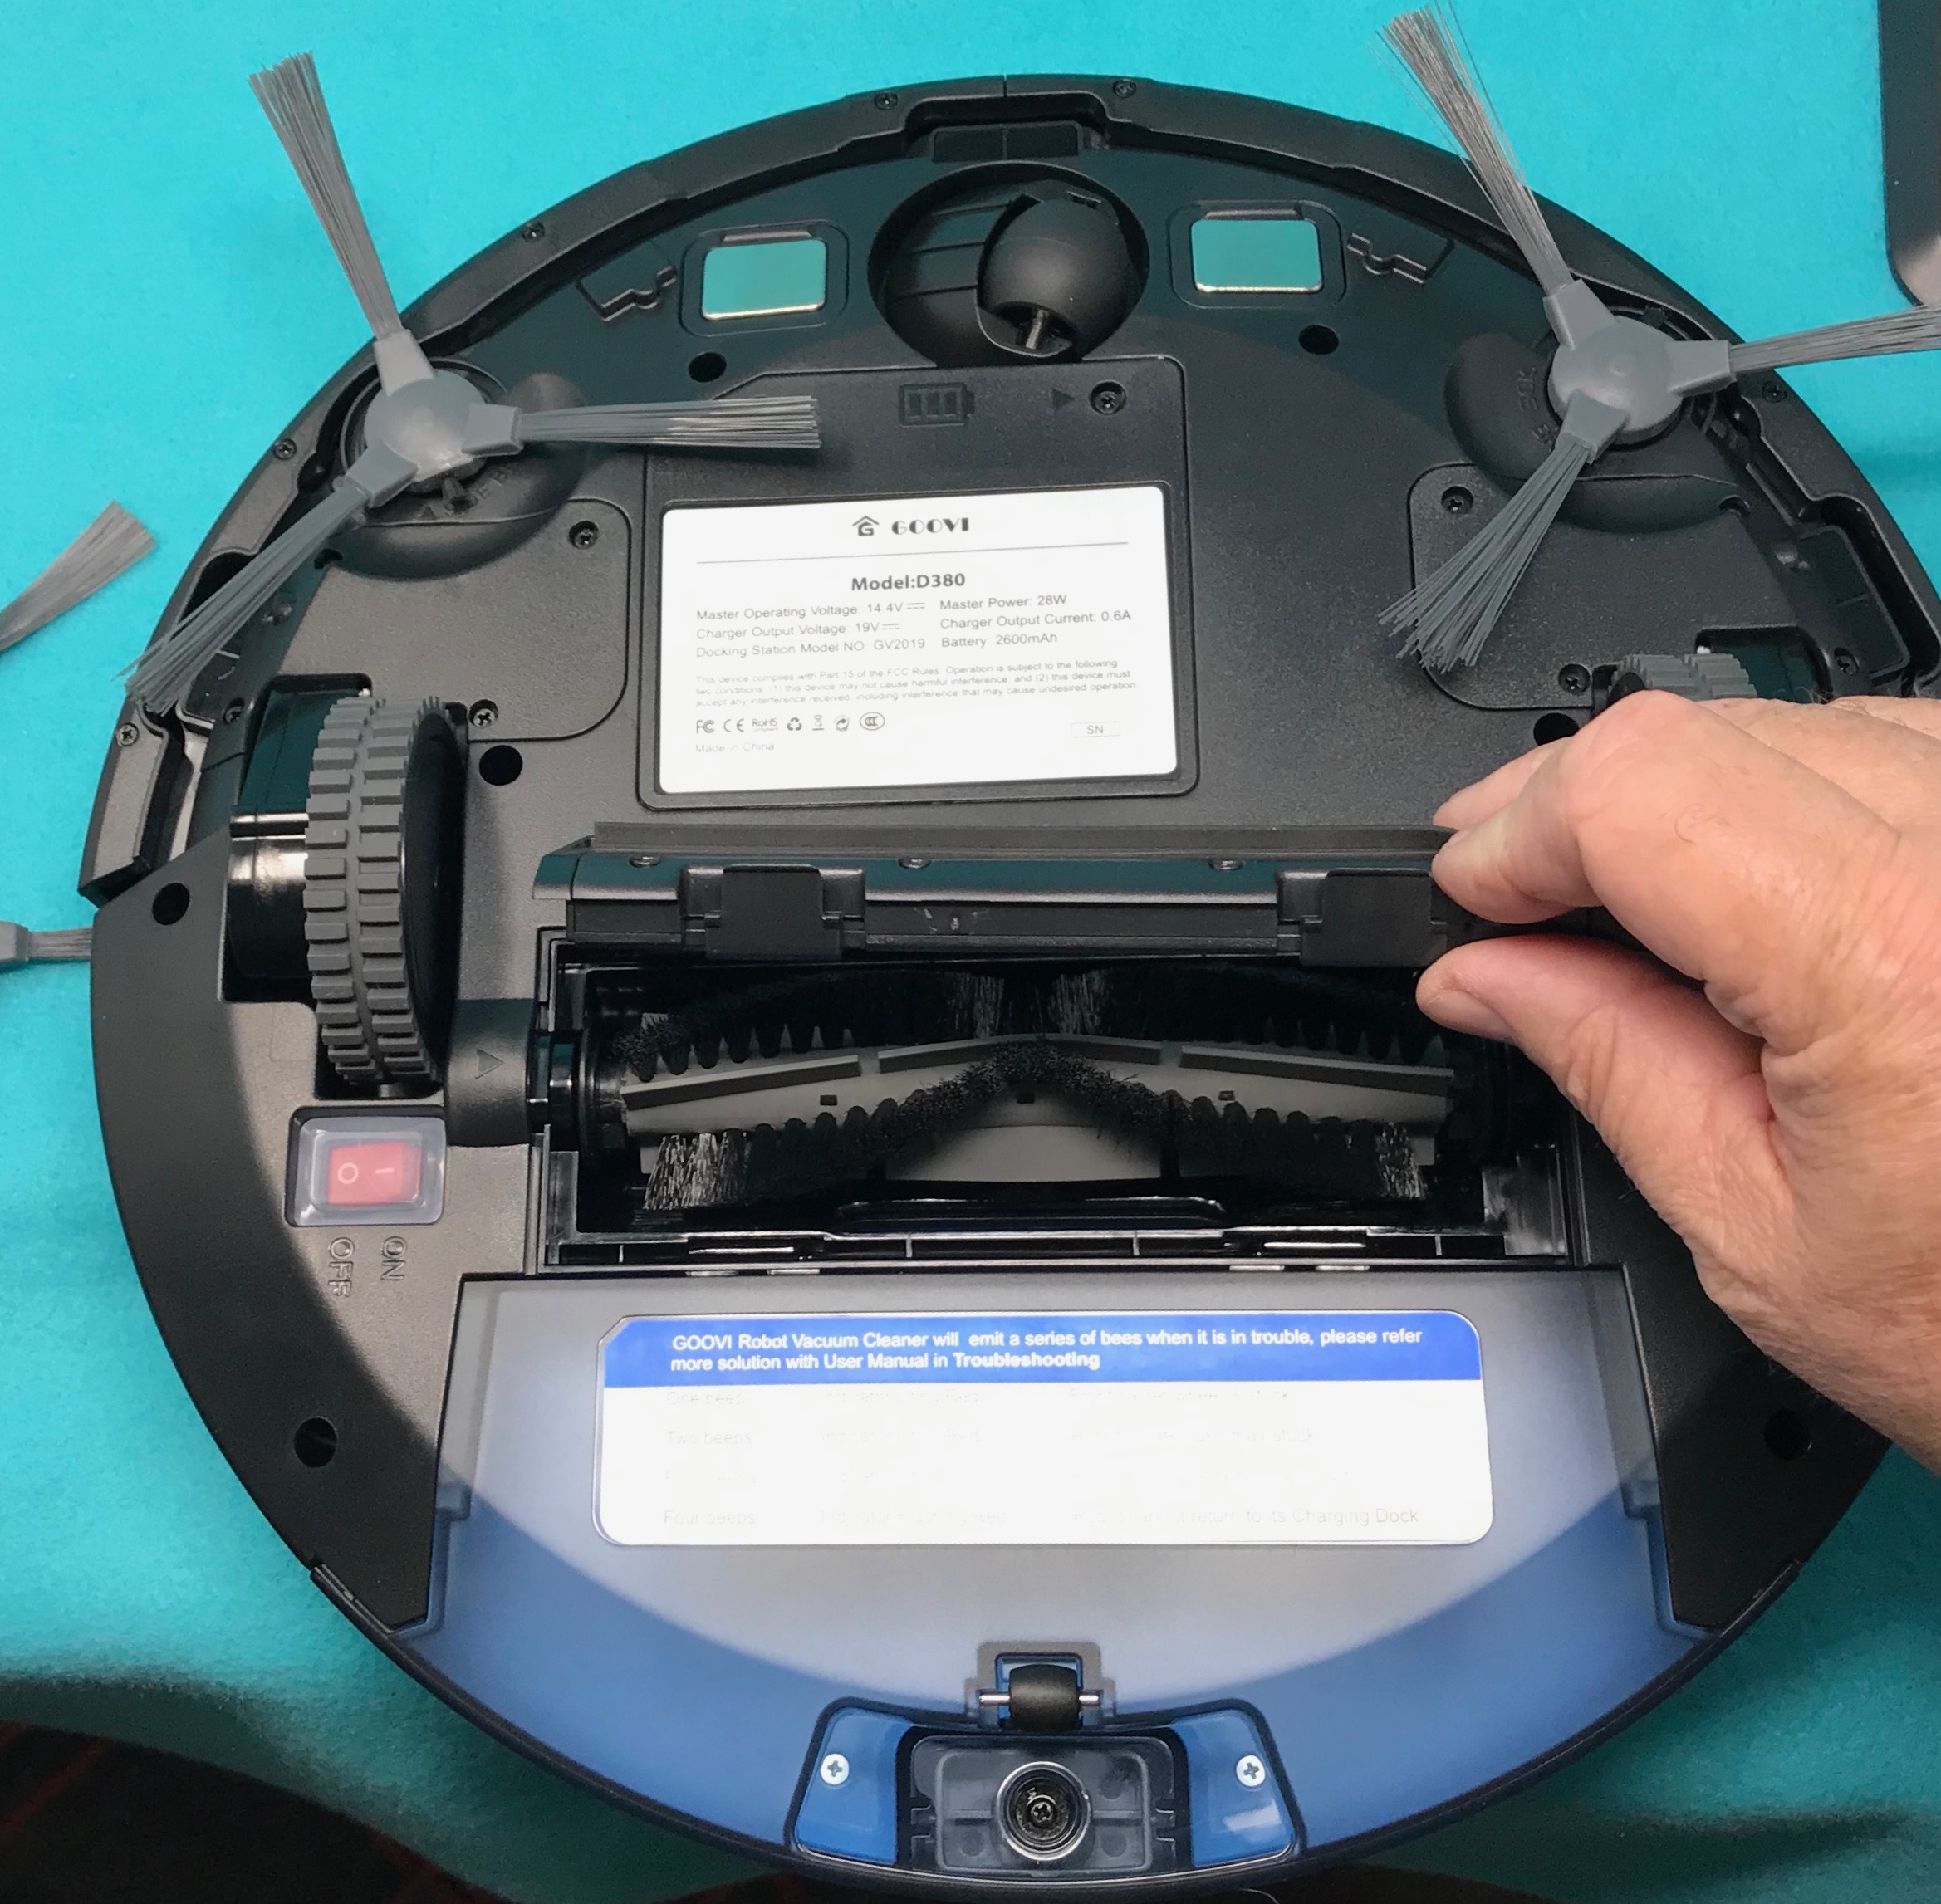
How Do You Remove the Battery from a Goovi Robot Vacuum?
Assuming you would like a blog post discussing how to remove the battery from a Goovi robot vacuum:
If your Goovi robot vacuum is not holding a charge like it used to, it may be time to replace the battery. Luckily, this process is relatively simple and only requires a few tools.
First, start by unplugging your vacuum from the charger and flipping it over so that you can access the underside. Next, use a Phillips head screwdriver to remove the four screws that are holding down the panel that covers the battery compartment. Once the screws are removed, lift up on the panel and set it aside.
Now you should see the vacuum’s lithium ion battery. In order to remove it, first disconnect the two wire harnesses that are attached to it. Once they are disconnected, you can simply pull out the old battery and insert a new one in its place.
Be sure to line up the positive and negative terminals before reconnecting the wire harnesses.
Once everything is back in place, screw in the panel covering the battery compartment and plug your vacuum back into its charger. Your Goovi should now have a brand new lease on life!
GOOVI-Old Model Video Of Schedule Time
Goovi Robot Vacuum Troubleshooting
If your Goovi Robot Vacuum isn’t working as it should, there are a few things you can do to troubleshoot the issue. First, check that the vacuum is properly charged. If the battery is low, the vacuum may not have enough power to operate correctly.
You can also try resetting the vacuum by pressing and holding the power button for three seconds. If neither of these solutions works, you may need to contact customer service for further assistance.
Conclusion
In order to reset your Goovi Robot Vacuum, you will need to press and hold the power button for three seconds. Once the light on the vacuum turns red, release the button and then press it again. The vacuum will now be reset and ready to use.