How To Repair Vileda Mop Bucket?
If you’re wondering how to repair a Vileda mop bucket, you’re in luck. With a few simple tools and some elbow grease, you can have your bucket as good as new in no time. First, start by gathering your supplies.
You’ll need a Phillips head screwdriver, a flat head screwdriver, a hammer, and a replacement handle. Once you have your supplies, you’re ready to get started.
- Unscrew the lid of the vileda mop bucket
- Remove the dirty water from the bucket
- Fill the bucket with clean water and a little bit of detergent
- Put the lid back on the bucket and screw it tight
- Dip the mop head into the bucket and start scrubbing the floor
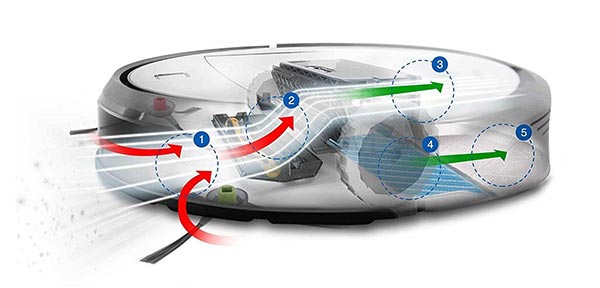
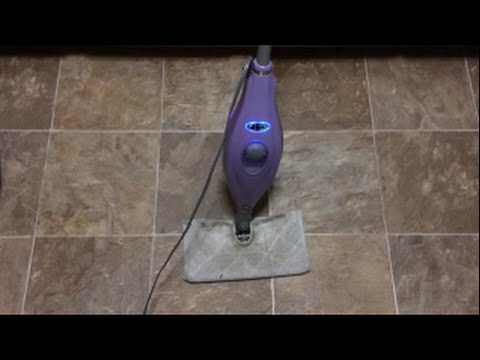
Repair Vileda Turbo
Vileda mop bucket spare parts
If you’re in need of Vileda mop bucket spare parts, you’re in luck. Here at Replacement Parts Industries, we carry a wide range of Vileda mop bucket parts to keep your bucket in top working condition.
Whether you need a new handle, a new wringer, or a new bucket, we have the parts you need.
We also carry a variety of Vileda mop heads to fit your specific needs.
replacement parts industries is the one-stop-shop for all your Vileda mop bucket needs. Browse our selection of parts today and keep your bucket in top condition for years to come.
Credit: www.youtube.com
How do you fix a broken mop bucket?
If you have a broken mop bucket, there are a few things you can do to fix it. First, try to find the source of the problem. If the bucket is leaking, there may be a crack or hole somewhere that needs to be sealed.
If the bucket is not draining properly, the drain hole may be clogged.
Once you have found the source of the problem, you can start to fix it. For a leaking bucket, you will need to seal the hole with a waterproof sealant.
For a clogged bucket, you will need to clear the drain hole. You can do this by using a plunger or a plumber’s snake.
Once you have fixed the problem, you should test the bucket to make sure it is working properly.
Fill the bucket with water and let it sit for a few minutes. If the bucket is still leaking, you may need to apply a second layer of sealant. If the bucket is draining properly, it is ready to use.
How do you take apart a Vileda mop?
Assuming you would like a step-by-step guide on how to take apart a Vileda mop:
1. Begin by unscrewing the red knob at the top of the mop handle.
2. Next, pull the mop head off of the handle.
3. Once the head is off, you will see a white plastic piece. This is the mop’s spinner.
4. To remove the spinner, simply unscrew the black knob at the top of it.
5. With the spinner removed, you can now pull the mop head apart to access the sponge inside.
6. To put the mop back together, simply follow these steps in reverse order.
How do you put a Vileda mop back together?
Assuming you are talking about the Vileda Supermocio 3Action Mop:
To put the mop back together, first make sure the red release button on the handle is in the up position. Then, insert the mop head into the jaws of the handle, making sure that the yellow scrubber pad is facing down.
Finally, push the red release button back down to lock the mop head in place.
Why is my spin mop not working?
If your spin mop is not working, it is likely due to one of the following issues:
The mop head is not attached correctly –
Make sure that the mop head is correctly attached to the handle.
The mop head is damaged –
If the mop head is damaged, it will need to be replaced.
There is something blocking the spin plate –
If there is something blocking the spin plate (such as a piece of dirt or lint), the mop will not be able to spin. Remove the obstruction and try again.
The spin plate is damaged –
If the spin plate is damaged, it will need to be replaced.
The mop is not assembled correctly –
Make sure that the mop is assembled correctly according to the instructions. If you have tried all of the above and your spin mop still is not working, it may need to be serviced or replaced.
Conclusion
If you’re looking for a way to repair your Vileda mop bucket, you’ve come to the right place. In this blog post, we’ll show you how to fix a hole in your mop bucket so that it’s as good as new.
First, you’ll need to gather a few supplies.
You’ll need a piece of duct tape, a utility knife, and a screwdriver. Once you have those items, you’re ready to start the repair.
First, use the utility knife to cut a square piece of duct tape that’s big enough to cover the hole in your bucket.
Then, use the screwdriver to remove the screws that are holding the bottom of the bucket in place. Once the bottom is removed, place the duct tape over the hole and then screw the bottom back on.
That’s it!
Your Vileda mop bucket is now repaired and ready to use.