How to Setup Shark Robot Vacuum: Easy Guide for Beginners
Setting up your Shark Robot Vacuum is simple and efficient. With a few easy steps, you can have it running smoothly.
This guide will walk you through each step. Robot vacuums are becoming a must-have in modern homes. They save time and keep floors spotless. The Shark Robot Vacuum stands out for its features and reliability. But getting started might feel daunting.
Fear not! Setting it up is easier than you think. This blog will guide you through the process, ensuring your vacuum runs perfectly. We’ll cover everything from unboxing to the first clean. You’ll learn how to connect it to your Wi-Fi and troubleshoot common issues. By the end, you’ll have a fully functional Shark Robot Vacuum ready to tackle dirt and dust. So, let’s dive in and get your vacuum set up.
Choosing The Right Model
Setting up a Shark Robot Vacuum begins with choosing the perfect model. With numerous options available, it’s vital to select one that suits your needs. This decision can impact efficiency and satisfaction. Here’s how you can make an informed choice.
Comparing Features
Different models offer varied features. Some have advanced mapping technology. Others focus on powerful suction. Consider what matters most to you. Do you need smart home compatibility? Or long battery life? List your priorities. Then compare models based on those criteria. This approach helps in finding a model that aligns with your lifestyle.
Budget Considerations
Budget plays a crucial role in choosing a vacuum model. Prices vary widely among different Shark models. Determine your budget range first. Then explore models within that range. More expensive models often have more features. But there are budget-friendly options with excellent functionality. Balance features with cost to find the best fit for your wallet.
Unboxing The Shark Robot Vacuum
Setting up the Shark Robot Vacuum is simple. First, connect the charging dock to a power outlet. Place the vacuum on the dock, ensuring it’s aligned properly. Download the Shark app, follow the instructions, and connect the vacuum to your Wi-Fi.
Start cleaning with just a few taps.
Unboxing the Shark Robot Vacuum is an exciting step in your setup journey. This smart device promises cleaner floors with minimal effort from you. Before you start, make sure you have everything you need from the box. Let’s dive into the unboxing process to ensure you’re ready to go.
Contents In The Box
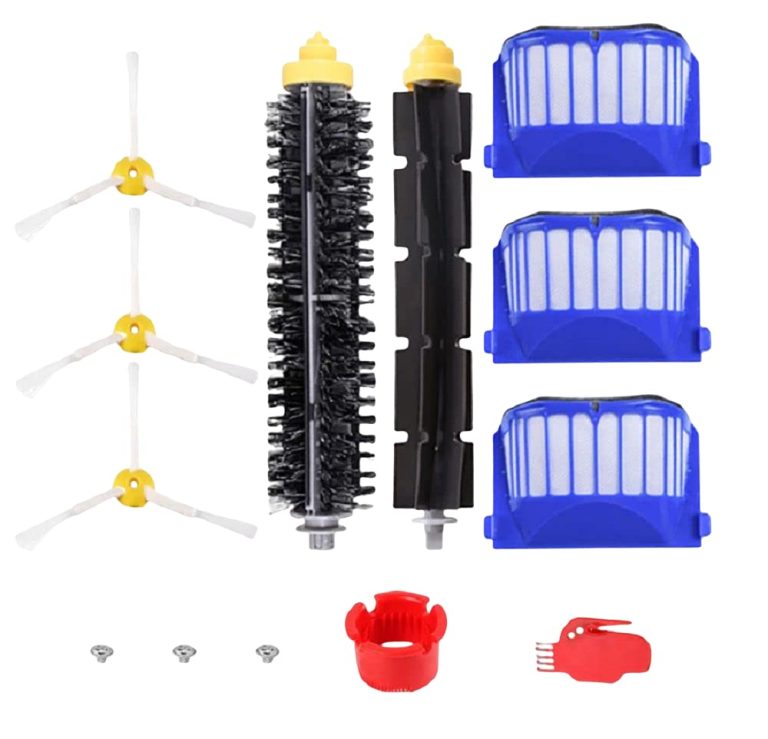
Open the box carefully to see what’s inside. You should find the Shark Robot Vacuum unit, a charging dock, and a power cord. Check for the side brushes and the main brushroll. These are crucial for effective cleaning. A filter and a cleaning tool are also included. Finally, look for the user manual. It provides important setup information.
Initial Inspection
Inspect each item for any visible damage. Check the vacuum for scratches or dents. Ensure the brushes are intact and not bent. The charging dock should be free from cracks. Examine the power cord for any frays. Verify that all components match the list in the manual. If you find any issues, contact customer support. A quick inspection helps avoid future problems.
Charging The Vacuum
Setting up a Shark Robot Vacuum involves connecting the charging base to a power outlet. Place the vacuum on the base to charge fully before use. Ensure the area around the base is clear for optimal operation.
Charging your Shark Robot Vacuum is a crucial step in ensuring it performs at its best. Without proper charging, even the most advanced vacuum can fall short of expectations. So, where do you begin? Let’s break it down into straightforward steps that anyone can follow
Locating The Charging Dock
First, identify a suitable spot for your charging dock. This doesn’t mean just any corner of your home. Look for a location that’s easily accessible for your vacuum. Keep in mind, the vacuum needs to return here after each cleaning session.
Ensure the dock is on a flat surface. Uneven floors can make it difficult for the vacuum to connect properly. Also, avoid areas with a lot of foot traffic. You don’t want someone accidentally tripping over it or disturbing the vacuum while it’s charging
Optimal Charging Placement
Place the charging dock against a wall. This helps the vacuum find its way back easily. Make sure there are no objects within a three-foot radius on either side of the dock.
Consider your power outlet placement. The charging cable should reach comfortably without stretching. A loose cable is not only a tripping hazard but also risks disconnecting the dock.
Is your dock near a staircase? If so, that’s a potential hazard for your vacuum. Opt for a safer location to prevent accidental falls. Think about how you can make the charging process seamless and hassle-free.
Remember, a well-charged vacuum is a happy vacuum. By giving some thought to where and how you charge your Shark Robot Vacuum, you ensure it’s always ready to tackle whatever mess life throws your way.
Credit: support.sharkclean.com
Connecting To Wi-fi
Set up your Shark Robot Vacuum by connecting it to Wi-Fi first. Open the Shark app on your phone. Follow the app instructions to link the vacuum to your network.
Connecting your Shark Robot Vacuum to Wi-Fi is essential. It allows you to control your device remotely and access advanced features. This section will guide you through the process. Follow these simple steps to ensure your vacuum is connected seamlessly.
Downloading The App
Begin by downloading the SharkClean app. It’s available for both Android and iOS devices. Visit the Google Play Store or Apple App Store. Search for “SharkClean” and download the app. Once installed, open it on your smartphone or tablet. The app will guide you through the setup process.
Wi-fi Setup Steps
Ensure your Wi-Fi is working. The Shark Robot Vacuum connects to a 2.4 GHz network. Make sure your device is on this frequency. Open the SharkClean app. Create an account or log in if you already have one. Follow the on-screen instructions to connect your vacuum. Enter your Wi-Fi password when prompted. The app will verify the connection. Your Shark Robot Vacuum should now be connected. You can start using all the app’s features for optimal cleaning.
Mapping Your Home
Setting up your Shark Robot Vacuum involves simple steps. First, unpack and charge the vacuum fully. Next, download the Shark app to connect the device and follow on-screen instructions for mapping your home. Finally, place the vacuum on the dock, ensuring a clear path for efficient cleaning.
Mapping Your Home is a crucial step in setting up your Shark Robot Vacuum. By creating a detailed map, the vacuum can clean efficiently and avoid obstacles. This process ensures your floors are spotless without the hassle of constant supervision. As someone who once watched their vacuum bump into walls repeatedly, I can assure you that proper mapping makes a world of difference.
Creating A Floor Plan
Start by placing your Shark Robot Vacuum in its charging dock. Ensure it’s fully charged before you begin mapping.
As the vacuum navigates, it will automatically start creating a floor plan. This map helps the vacuum understand your home’s layout, identifying key areas to clean.
Watch the vacuum’s progress through the app on your phone. You’ll see an outline of each room as it completes its first cleaning cycle. It’s fascinating to see your home transformed into a digital blueprint.
Take note of any areas where the vacuum struggles. You might need to adjust furniture or remove loose cables to improve its navigation.
Setting No-go Zones
No-go zones are essential for protecting fragile objects or preventing the vacuum from entering rooms you’d prefer it skipped.
Use the app to set these zones easily. Simply drag and drop boundaries on the map, marking areas where the vacuum should not enter.
Think about the places you don’t want the vacuum to reach. Maybe it’s the area under your desk with countless cables or the room where your toddler plays.
Setting these boundaries ensures peace of mind. You don’t have to worry about the vacuum tangling in cords or disturbing your pet’s resting spot.
Have you ever considered how technology like this can transform your daily cleaning routine? With a mapped home, your Shark Robot Vacuum can clean efficiently, saving you time and effort.

Credit: www.youtube.com
Scheduling Cleaning Sessions
Setting up a Shark Robot Vacuum to clean your home efficiently is a game-changer. One of the most exciting features is the ability to schedule cleaning sessions. Imagine coming home to spotless floors without lifting a finger. This convenience not only saves time but also ensures your living space is consistently tidy. Let’s dive into how you can make the most of this feature.
Setting Cleaning Times
Setting cleaning times is easy with the Shark Robot Vacuum. Begin by accessing the app on your smartphone. You’ll find an option to create a cleaning schedule that fits your lifestyle.
Decide on the days and times that suit your routine best. Perhaps you want the vacuum to run while you’re at work, or maybe during the night when everyone is asleep. Consistent timing can help maintain a clean home effortlessly.
Think about your habits and weekly routines. Do you have family visits on weekends? Schedule the vacuum for Friday evenings. This way, your home is presentable without last-minute scrambles.
Customizing Cleaning Modes
Customizing cleaning modes allows you to tailor the vacuum’s operation to your home’s unique needs. Depending on your floor type and room layout, different modes can offer optimal cleaning.
Consider using the “Eco” mode for daily maintenance to conserve battery. For a deep clean, switch to “Max” mode. This flexibility ensures the vacuum adapts to your home’s specific conditions.
Do you have pets? You might want to schedule an extra session on “Turbo” mode to tackle pet hair and dander. Adapting to the challenges of your environment keeps your home cleaner and more comfortable.
By setting cleaning times and customizing modes, you can ensure your Shark Robot Vacuum works around your life, not the other way around. Are there specific times or modes that would make your life easier? Try them out and experience the convenience firsthand.
Maintenance Tips
Maintaining your Shark Robot Vacuum is essential for efficient cleaning. Regular upkeep ensures your vacuum works effectively and lasts longer. Here are some easy maintenance tips to follow. These steps will help keep your robot vacuum in top shape.
Cleaning The Brushes
Brushes can collect hair and debris over time. Check them weekly. Remove any tangled hair or string. Use a pair of scissors if needed. Clean both the main and side brushes. This will help the vacuum move freely. Clean brushes improve suction power and cleaning performance.
Emptying The Dustbin
Empty the dustbin after each cleaning session. A full dustbin reduces suction power. To empty it, remove the dustbin from the vacuum. Open the lid and dispose of the debris. Rinse the dustbin with water if needed. Dry it completely before reattaching. A clean dustbin ensures optimal performance.
Troubleshooting Common Issues
Setting up your Shark Robot Vacuum can be simple with clear steps. Ensure the charging dock is plugged in securely. Connect the vacuum to Wi-Fi by following the app instructions. For optimal performance, regularly clean the sensors and brushes. Troubleshoot common issues by consulting the user manual or online resources.
Setting up your Shark Robot Vacuum can be a breeze, but occasionally, you might encounter a few bumps along the road. Understanding common issues and how to troubleshoot them can save you time and frustration. Whether it’s connectivity problems or navigation errors, knowing how to tackle these challenges can make your cleaning experience smooth and stress-free.
Connectivity Problems
Struggling to connect your Shark Robot Vacuum to Wi-Fi can be frustrating. First, ensure your router is on a 2.4 GHz network, as many robot vacuums don’t support 5 GHz. If you’re unsure, check your router’s manual or settings.
Have you ever forgotten your Wi-Fi password? Double-check that you’re entering the correct one. A simple typo can prevent connection.
If connection issues persist, try resetting your router and the vacuum. Unplug the router for 10 seconds and plug it back in. Then, hold the power button on the vacuum for a reset.
Navigation Errors
Does your Shark Robot Vacuum seem lost or stuck? Make sure there are no obstacles in its path. Items like cables and furniture can confuse the vacuum’s sensors.
If it keeps bumping into things, check if the sensors are clean. Dust and debris can impair navigation. A gentle wipe with a dry cloth can do wonders.
Have you updated the vacuum’s software recently? Outdated software can cause navigation glitches. Check the app for updates and install them to keep your device running smoothly.
Remember, a little maintenance goes a long way. Regularly clean the sensors and wheels for optimal performance. Have you faced any of these issues before? Share your experiences and solutions in the comments! Your insights could help others facing similar challenges.
Conclusion
Setting up your Shark Robot Vacuum is easy with these steps. First, unpack your vacuum and charge it fully. Then, connect it to your Wi-Fi network through the app. Adjust the settings to suit your cleaning needs. Schedule cleaning times that work for you.
Ensure the area is clear of obstacles. Regularly empty the dustbin for best performance. Now, your home stays cleaner with less effort. Enjoy the convenience of automated cleaning. With practice, you’ll become confident in managing your new device. Your Shark Robot Vacuum is ready to keep your floors tidy.